New cable on Minelab Excalibur unit

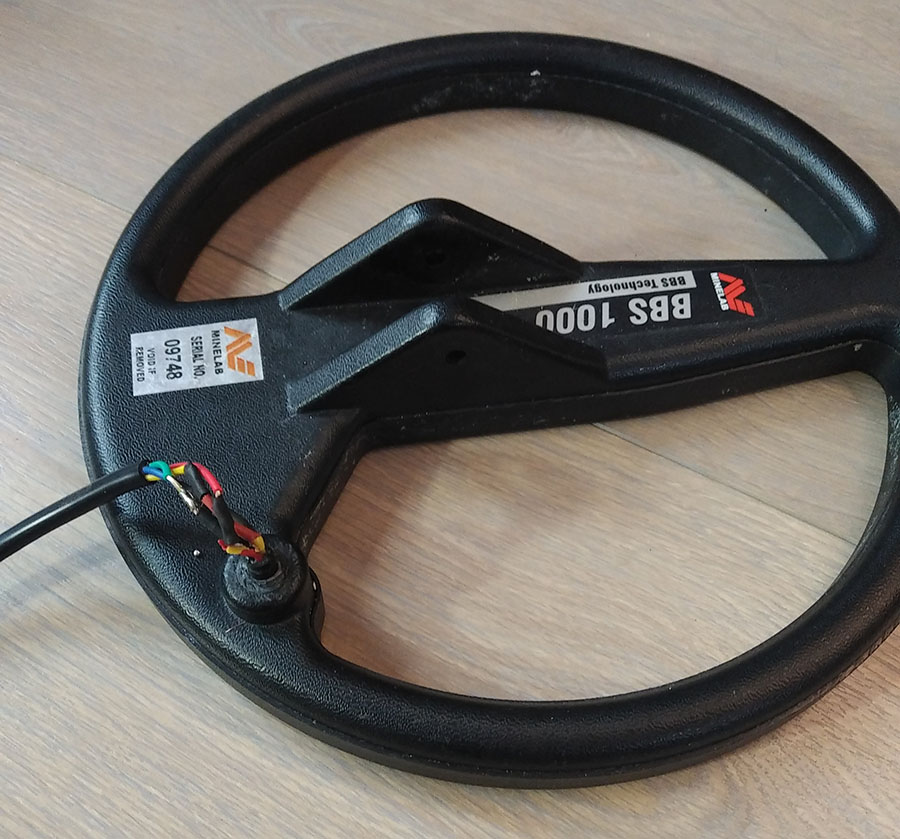
This post deals with replacing the cable on the Minelab Excalibur’s unit. To read about how to replace cable on the coil end go here

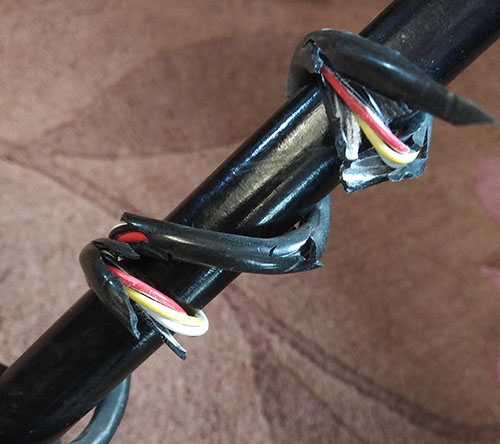
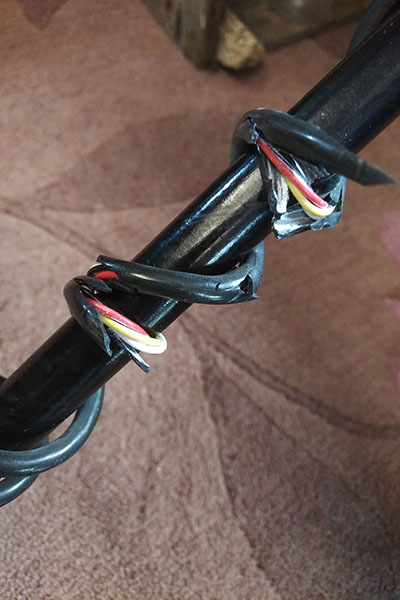
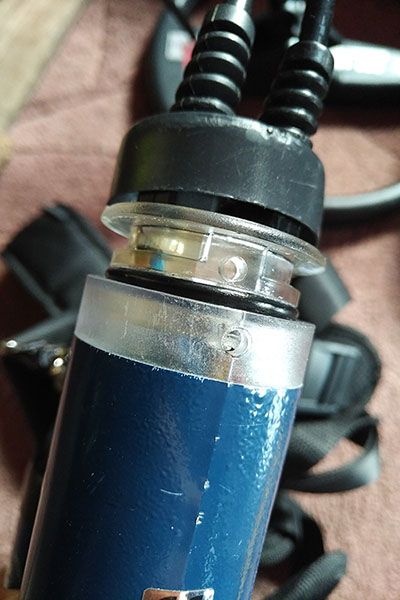
Minelab Excalibur’s good old cracking cable

Removing old cable from unit

a. Cut off cable just outside unit if you dare. Otherwise leave it and try to get the unit opened up first. If it doesn’t work out, be happy you didn’t cut it. Continue using Excalibur with broken outer shell.


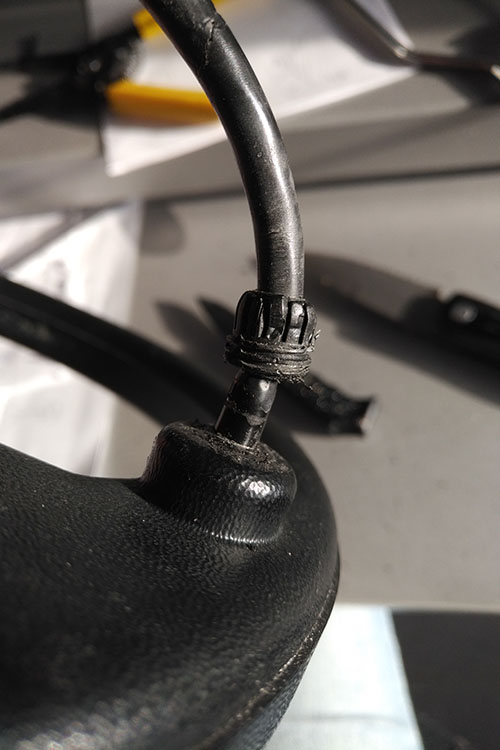
b. Opening up the endcaps: Take off the black plastic cover around endcap. You will need it again. Screw off of the black thing that sites over the cable entering the unit with a small wrench. And Don’t forget to put BOTH over your new cable BEFORE SOLDERING. Screw the 2 screws in the endcap out (they are under the black cover), then fiddle with some thin flat screwdriver or a razor (seems dangerous) to get the end cap to move. It’s all in this video.

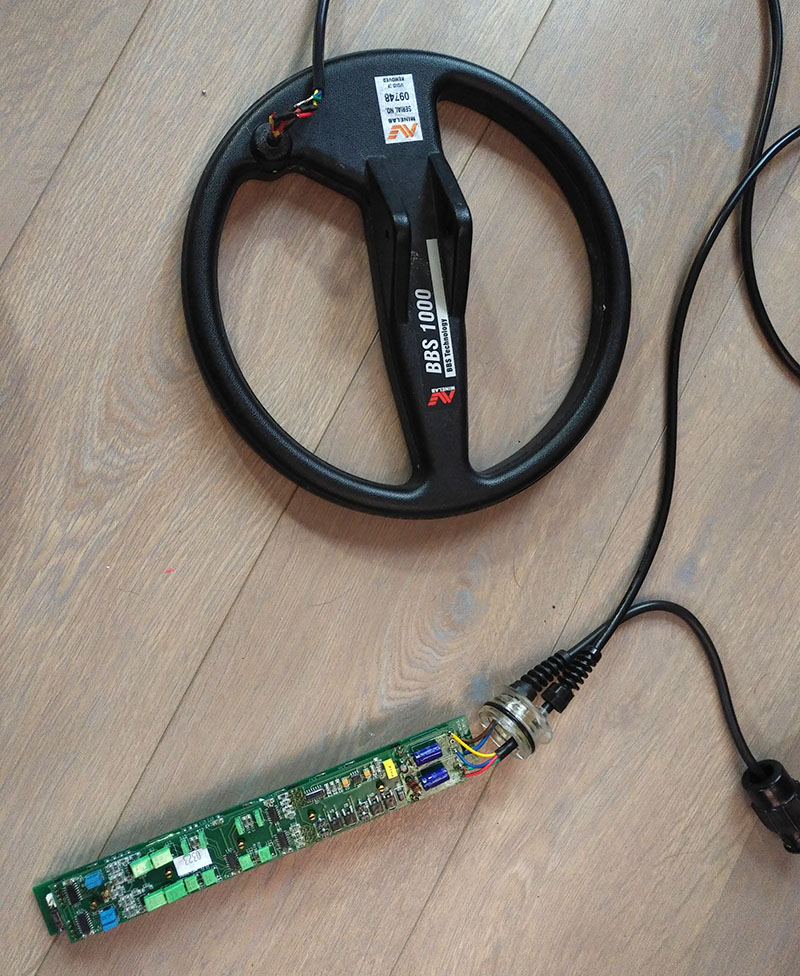
c. In order to slide out the motherboard, you will need to open the end cap on the other side to release the 2-pin audio cable. It’s only a connector, so no need to solder. There might be a third ground wire that needs to be cut, but this is not with all Excaliburs. This is how it looks without the unit’s cover.


d. Turn all knobs to the utter left position. Pinpoint and treshold are pointing downwards, the rest points to the 0 or extreme left. This creates a free passage for the board’s components to pass through. You can look inside while trying to get it out and see how it is sitting.

Pity i don’t have pictures but there are other sources if you google it.

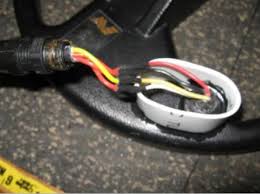
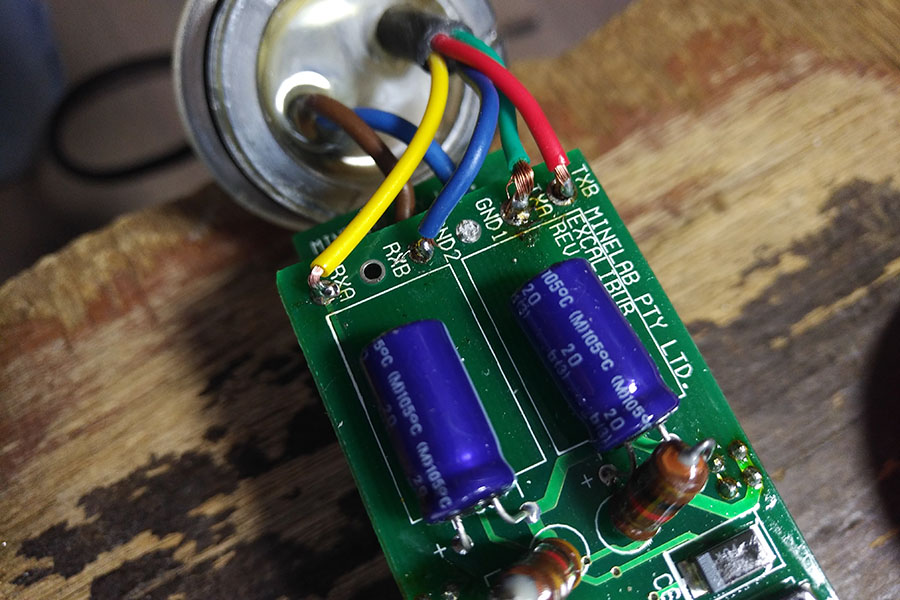
Don’t forget to figure out how the wires are going to go. Look at what you have, or make a picture to be sure. Just make sure, whatever wire coming from the coil is attached to its original end hole in the unit board.

Original wires on the blue Minelab Excalibur 1000. You also have to disconnect the brown and blue power wires to work on the board.

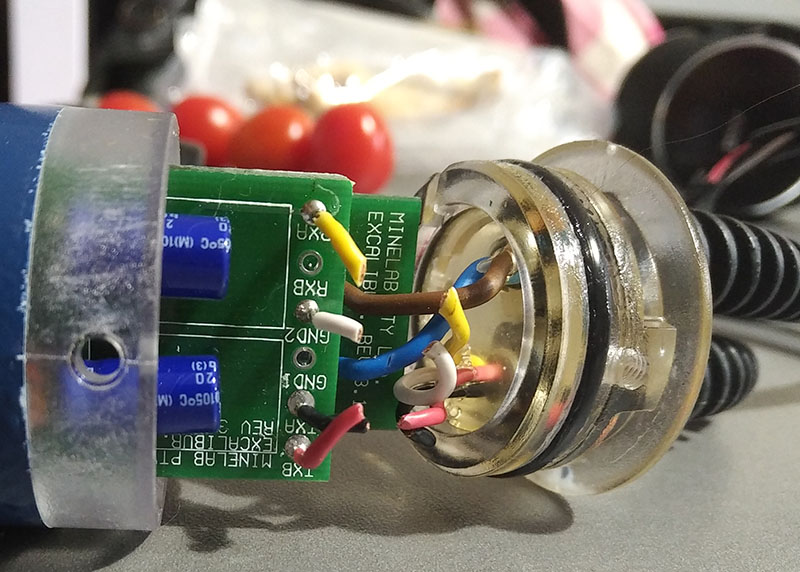
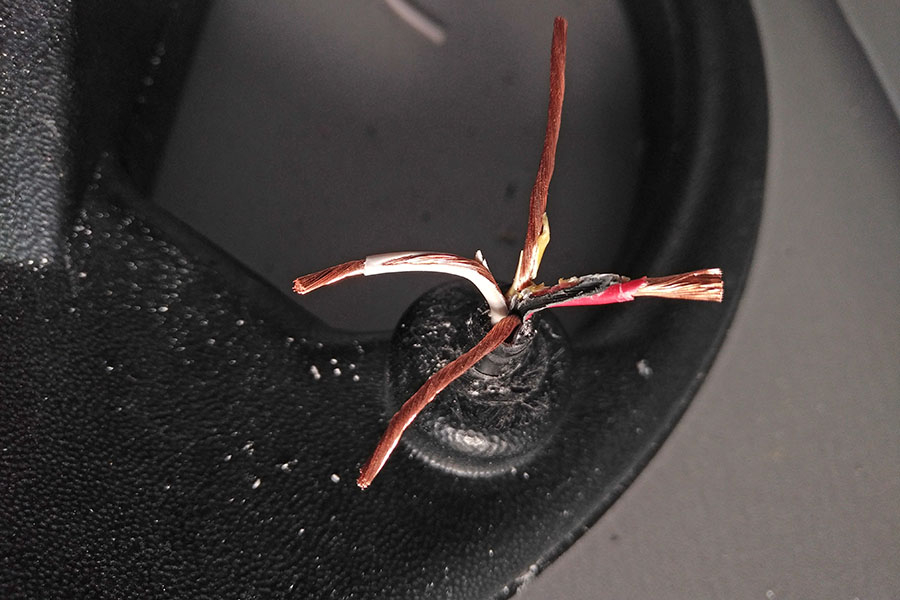
The old wires have to be removed from the board. First cut them off near the endcap, then remove the solder and pull them out.
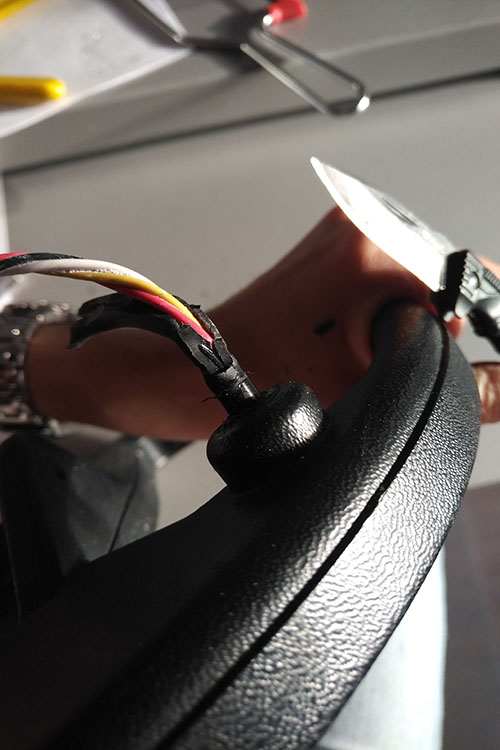
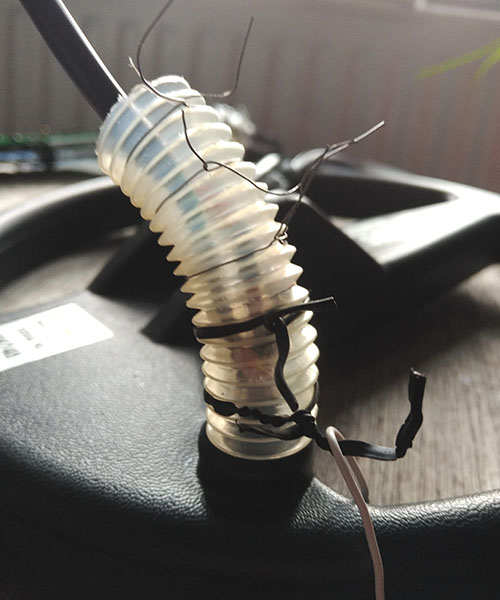
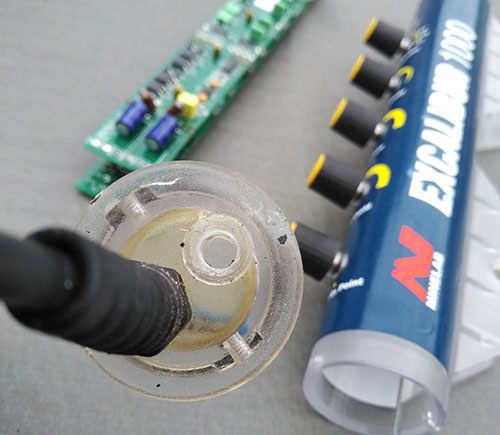
The cable goes through the end cap resin, so you need to drill that out. I cut off the cable as far as I could, then started drilling through the cable from the outer side with a smaller drill bit first. Takes a while to get a grip but it worked in the end. Just see that the hole you drill is big enough for your new cable. It doesn’t have to be bigger.

Drilled out hole in endcap. Make it just wide enough for the new cable. The less extra space, the less you have to close it to keep the resin inside. Resin is from hell !

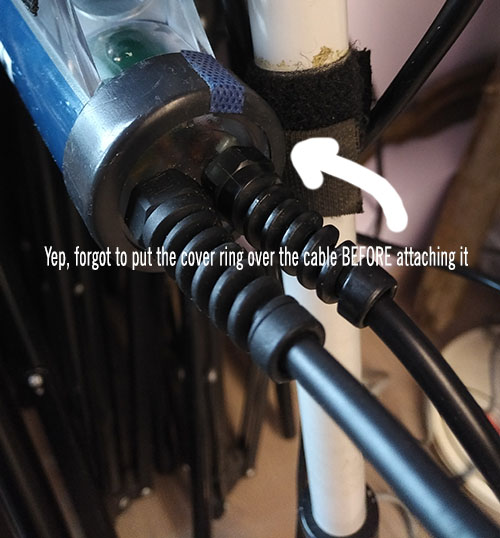
Now you have to stick the old black endcap cover and cable end over your new cable before plugging it into the endcap:

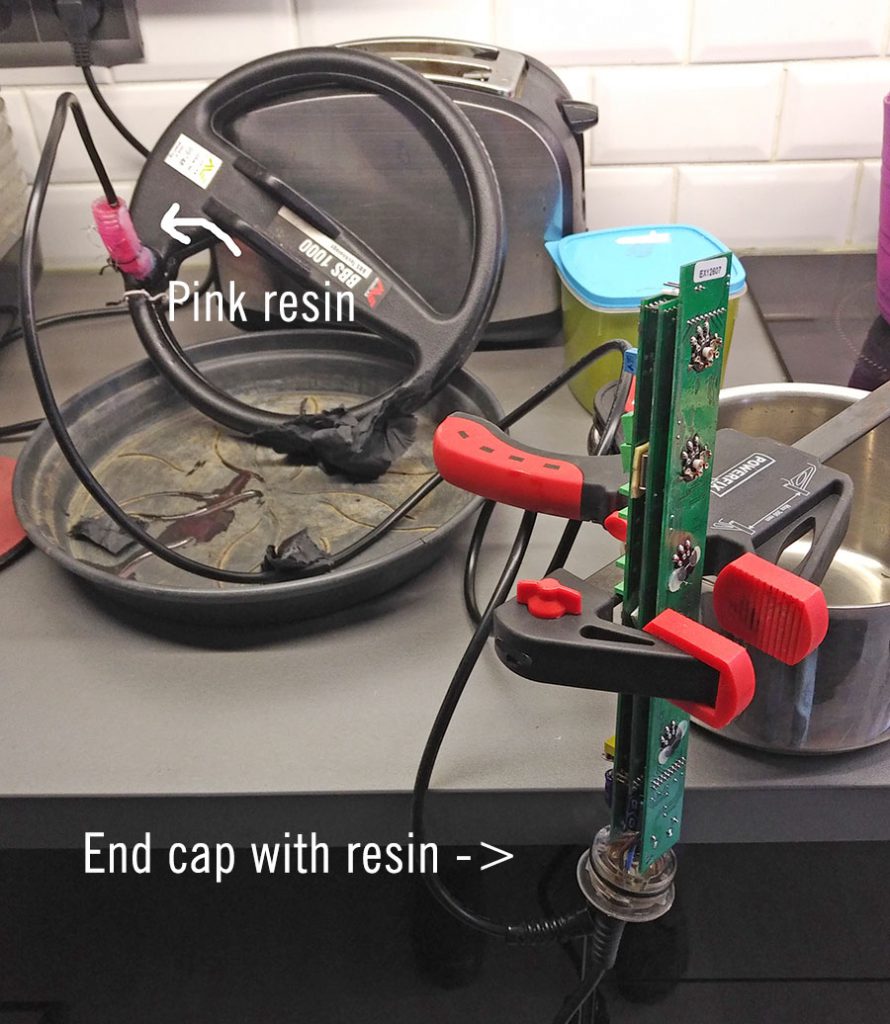
Put cable through endcap hole and solder the right wires to the board:

I KNOW this is a terrible soldering job. It was a bad soldering iron that didn’t get hot enough. I didn’t know back then but i have a better one now.


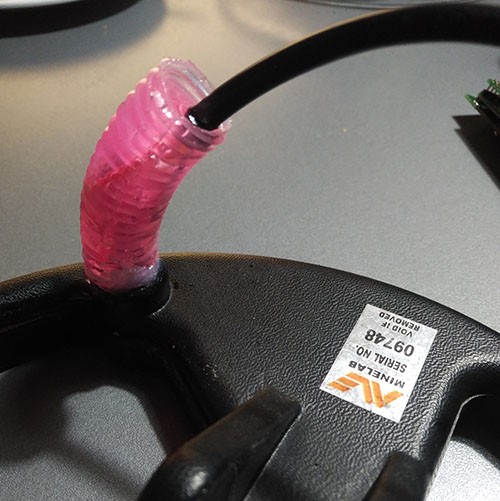
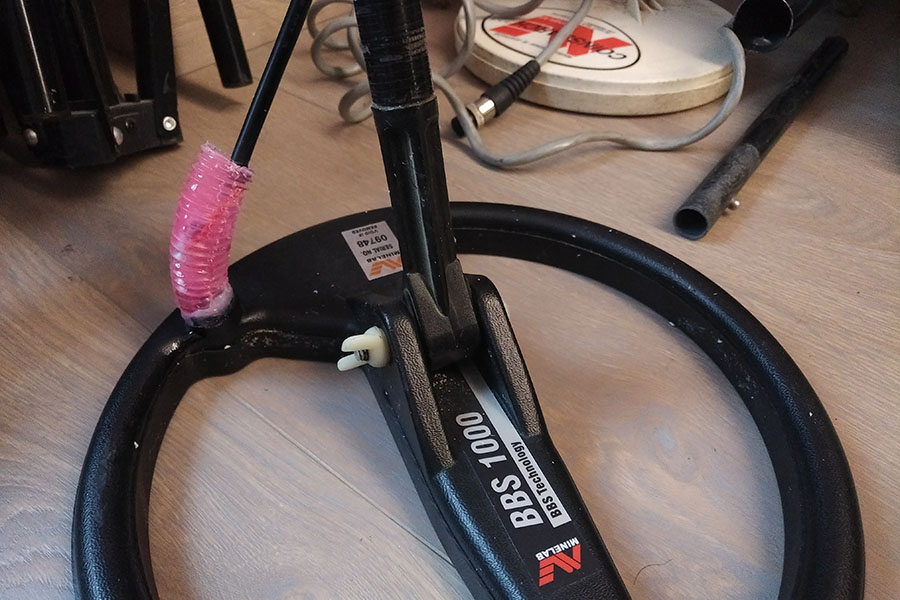
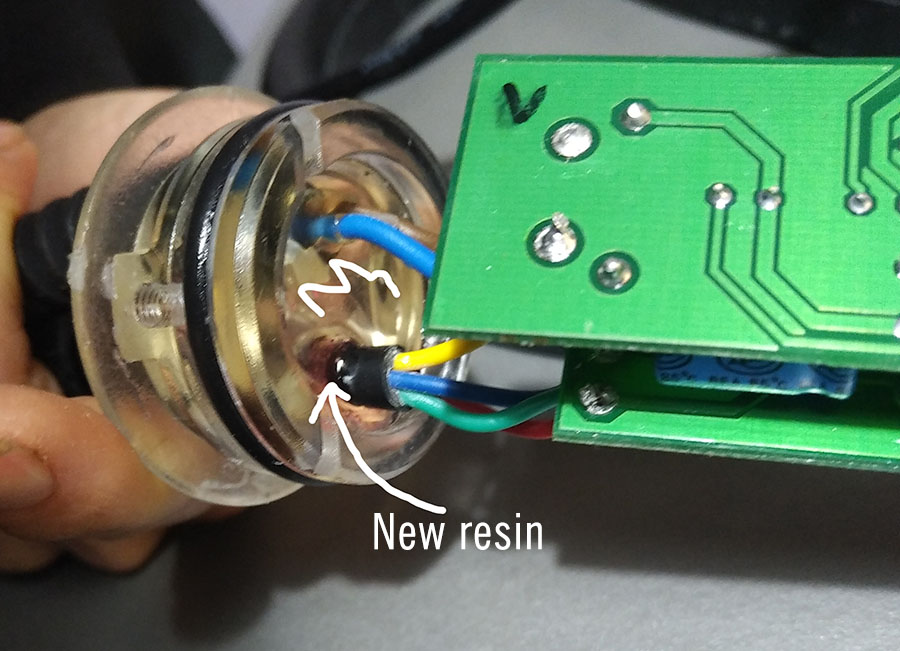
Add resin to the endcap to waterproof it.

Time to put the board back into the unit. Good luck with that 😀 Remember, if the endcap doesn’t seem to close, the 2 holes in the inside are supposed to go over the green board so twist it a bit and see if it gets to that.

Replacing cable of Excalibur search coil

Putting a new cable on the search coil of the Minelab Excalibur

Go here to read how to install a new cable into the unit of Excalibur.
There’s a common ‘sign of old age’ thing happening to some Excalibur coils, and that is: the breaking of the outer shell. The inner wires will still be ok but it’s better that wires have double protection (an obligation in electricity world for wires to be 2x isolated to be safe). I got my old Excalibur via post, all wrapped in plastic, and when I saw the first broken bit of cable, I thought I accidentally cut it myself while opening it with my knife. Oops. Turns out the whole cable started falling apart. So no oops. THe thing is 20 yrs old, but unfortunately there’s no easy way to replace it.

The worst thing about opening up an Excalibur is getting the long green board out.. and back in. All the turn knobs have to stand in the right direction. If you open the end cap and look inside, you can see that the bottom side of the knobs need to create a straight line of openings needed to venture the board out. Getting the end cap back can be a bit of a thing too, but there is an indent meant to shove over a bit of the green board so look for it to fit.


Here are your options – and you need to solder:

1) Buy new coil. Open end cap. Drill out old cable. Attach new cable to unit board through hole. Make waterproof again with resin. Most waterproof option.

2)If you don’t need it to be waterproof, you can try to only replace the middle/broken part of the cable between unit and coil. Leave some old cable on both ends. And then pray it’s not going to crack all the way. Downside: It will look uglier. Downside 2: More work. I tried leaving 15cm on the coil but then that started crackling too because of the heat of the soldering machine. So I had to remove all the cable which had a black shell an start from the beginning of the coil. Downside 3: One cable straight from coil to unit: great. The more connections, the more can go wrong.

3) Replace all cable, start from coil nipple, lead it through end cap and solder it on board in unit. The worst part is the mess with resin at the coil side to make the newly connected wires waterproof.

You can watch some videos to see how it works:
https://www.youtube.com/watch?v=5xrNPrSTXBQ

Attach new cable to the Minelab coil

Loosen up the black cable screws. Don’t lose them.
Carefully cut outer black shell. Leave the colored wires.
The isolation around the original wires was also shredded.. you want your new cable to start as close to the coil as possible, because it all needs to go into resin cast afterwards. Maybe vulcanic tape could work too. There exist a lot of tools that I haven’t heard of/tried yet.
Too be honest, I did a terrible job at soldering but I found out later that my soldering iron didn’t get hot enough. I have a better one now.
Test it before adding resin or shrink tube ^^ Of course you need to solder the wires onto the board but I’m bad with chronological arrangements of posts :p
In hindsight, the vertical resin tower wasn’t my best idea, but it would be harder to make it more horizontally aligned with the coil. Like in the next photo from someone else:
The wires and a bit of the black shell all have to be put in resin as to make it waterproof. REsin to me is a complete hassle and will always drip out where it shouldn’t..
Let the dripping begin. THe endcap cable was already ready here.
End result. If I were a bit handier, I would have made the soldered part shorter so there would be less cable to be dipped in resin.