Putting a new cable on the search coil of the Minelab Excalibur
Go here to read how to install a new cable into the unit of Excalibur.
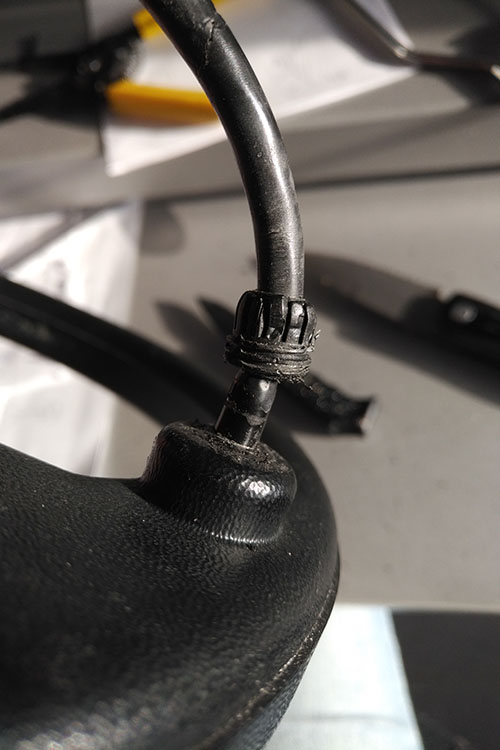
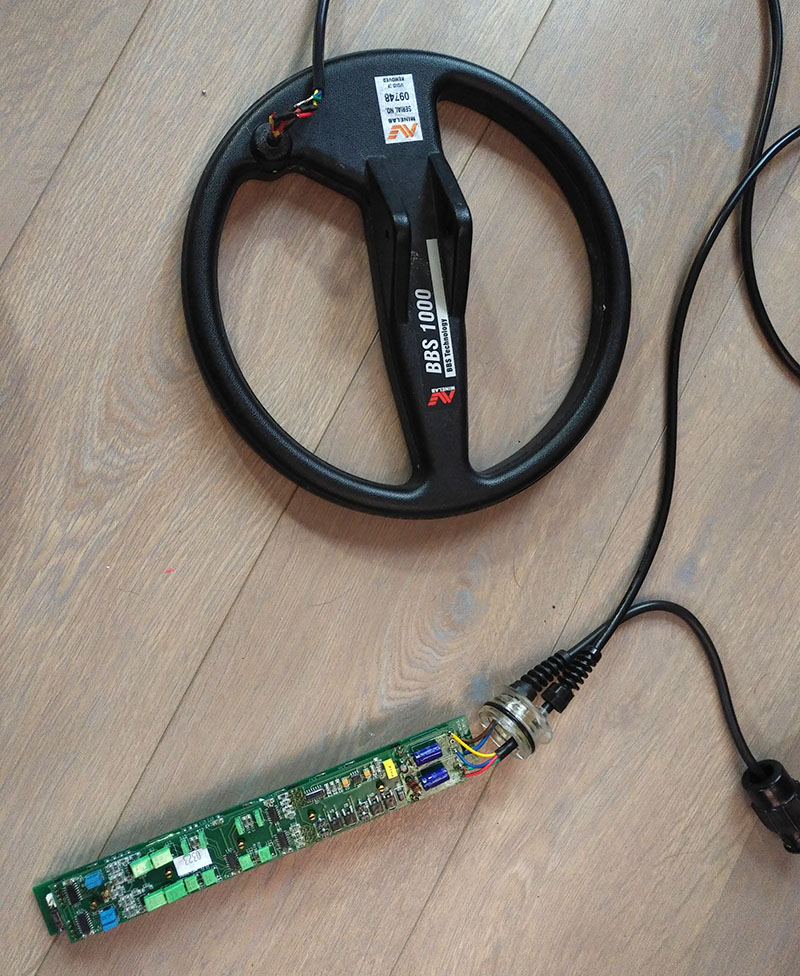
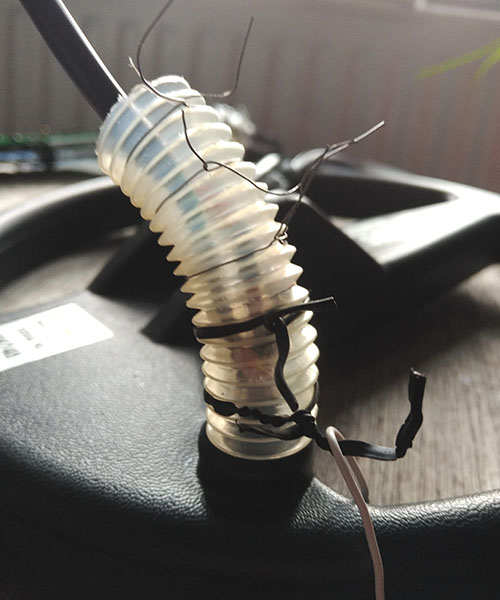
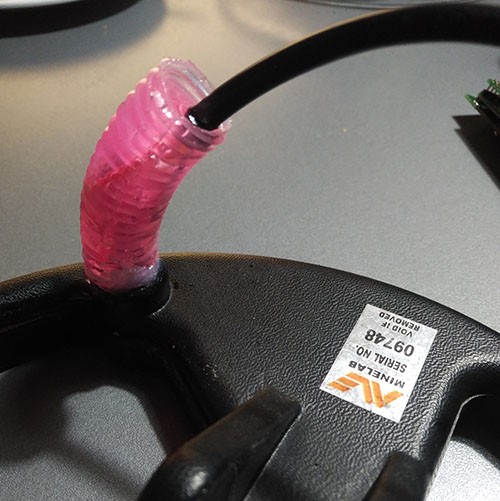
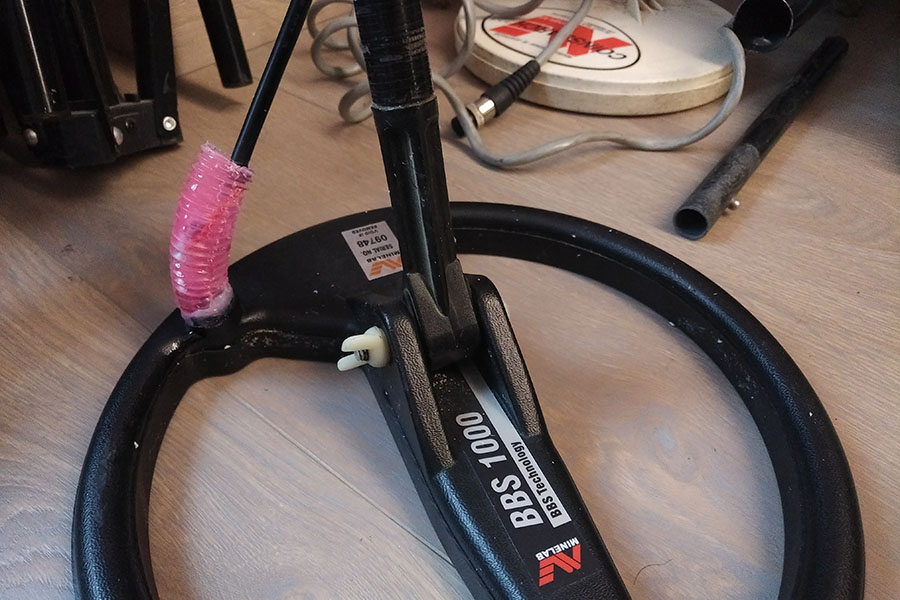
There’s a common ‘sign of old age’ thing happening to some Excalibur coils, and that is: the breaking of the outer shell. The inner wires will still be ok but it’s better that wires have double protection (an obligation in electricity world for wires to be 2x isolated to be safe). I got my old Excalibur via post, all wrapped in plastic, and when I saw the first broken bit of cable, I thought I accidentally cut it myself while opening it with my knife. Oops. Turns out the whole cable started falling apart. So no oops. THe thing is 20 yrs old, but unfortunately there’s no easy way to replace it.
The worst thing about opening up an Excalibur is getting the long green board out.. and back in. All the turn knobs have to stand in the right direction. If you open the end cap and look inside, you can see that the bottom side of the knobs need to create a straight line of openings needed to venture the board out. Getting the end cap back can be a bit of a thing too, but there is an indent meant to shove over a bit of the green board so look for it to fit.
Here are your options – and you need to solder:
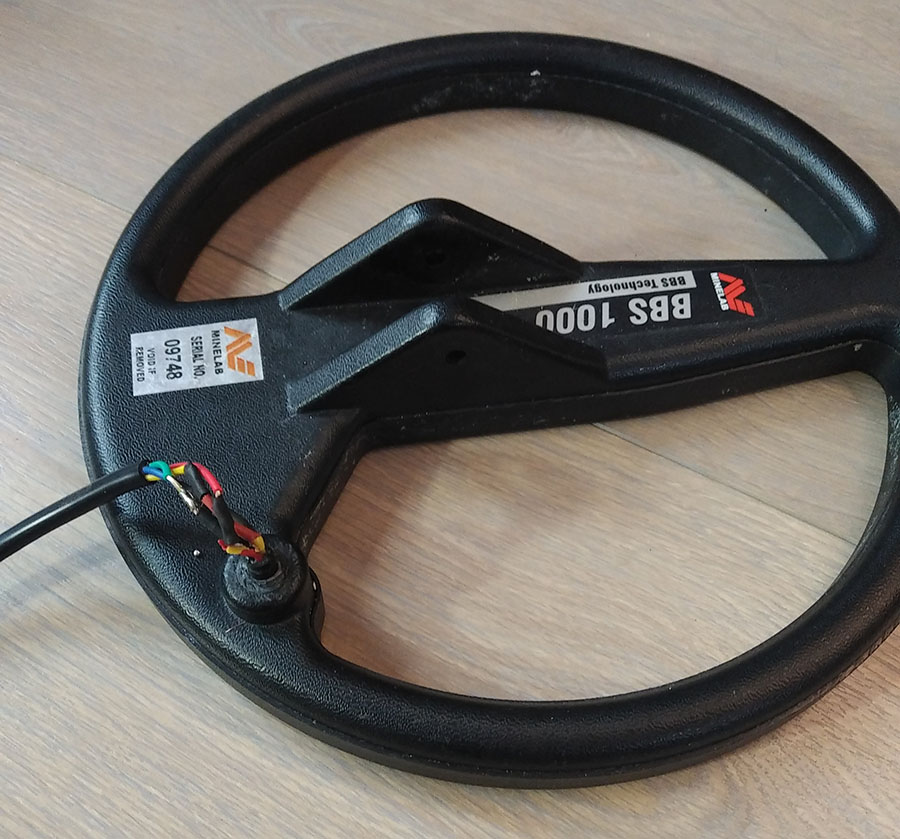
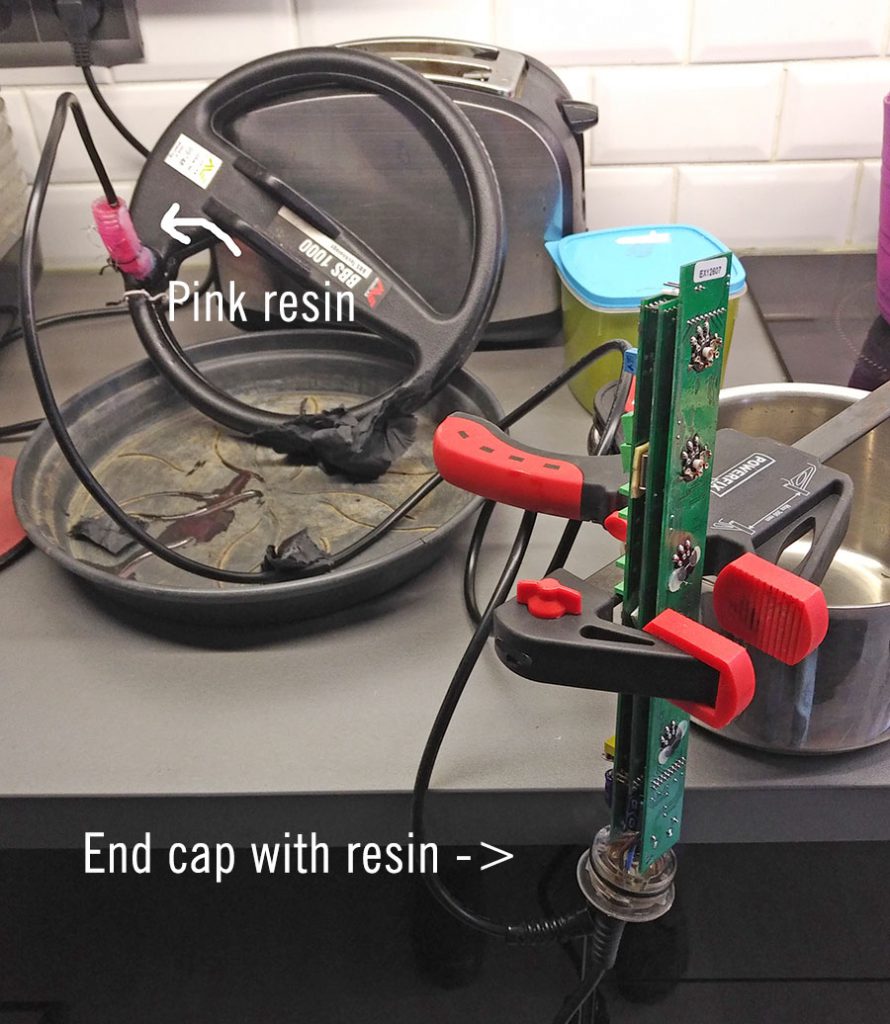
1) Buy new coil. Open end cap. Drill out old cable. Attach new cable to unit board through hole. Make waterproof again with resin. Most waterproof option.
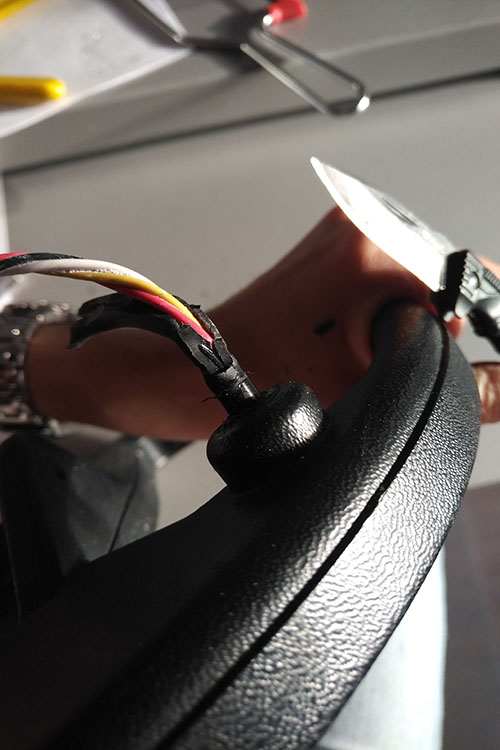
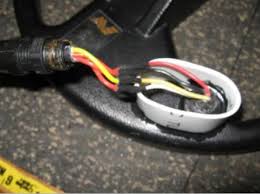
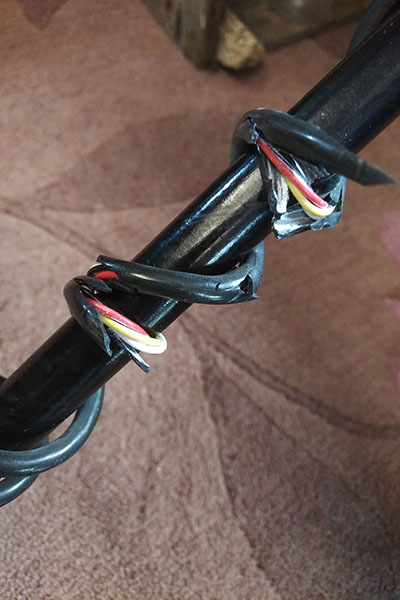
2)If you don’t need it to be waterproof, you can try to only replace the middle/broken part of the cable between unit and coil. Leave some old cable on both ends. And then pray it’s not going to crack all the way. Downside: It will look uglier. Downside 2: More work. I tried leaving 15cm on the coil but then that started crackling too because of the heat of the soldering machine. So I had to remove all the cable which had a black shell an start from the beginning of the coil. Downside 3: One cable straight from coil to unit: great. The more connections, the more can go wrong.
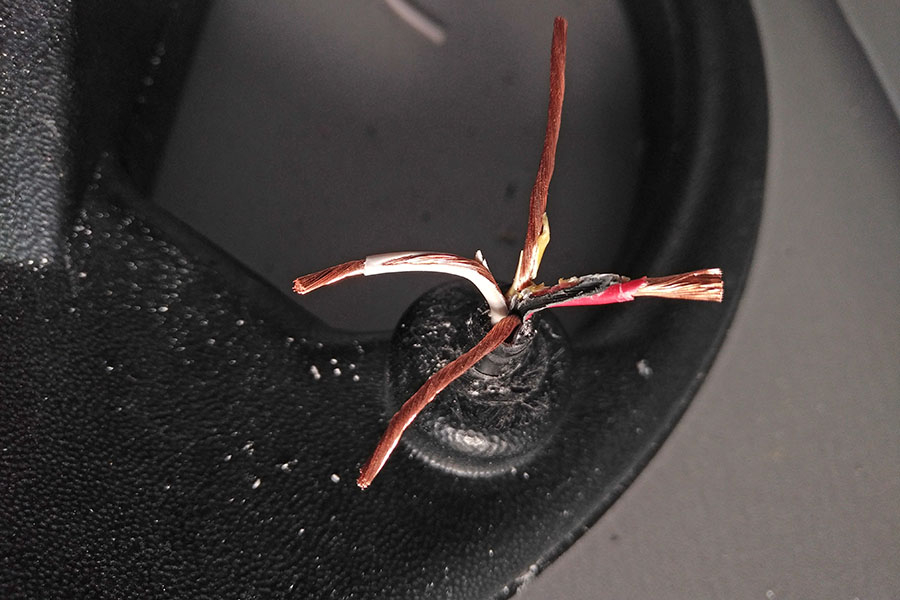
3) Replace all cable, start from coil nipple, lead it through end cap and solder it on board in unit. The worst part is the mess with resin at the coil side to make the newly connected wires waterproof.
You can watch some videos to see how it works:
https://www.youtube.com/watch?v=5xrNPrSTXBQ
Attach new cable to the Minelab coil